Tips for installation
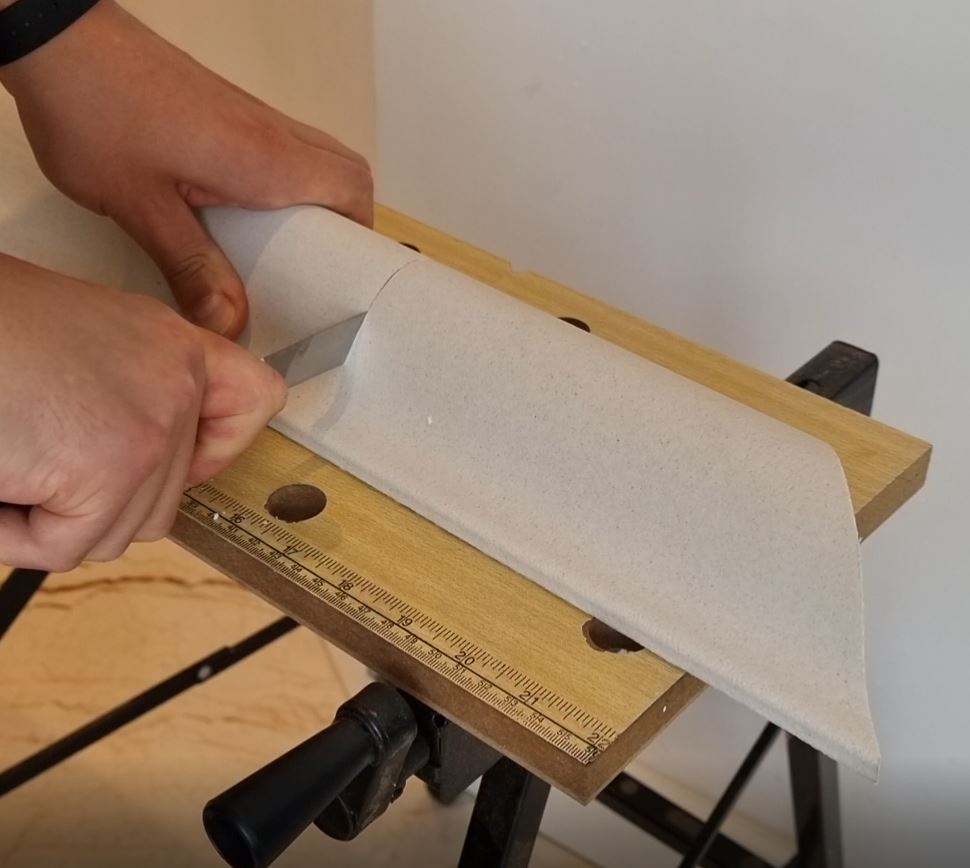
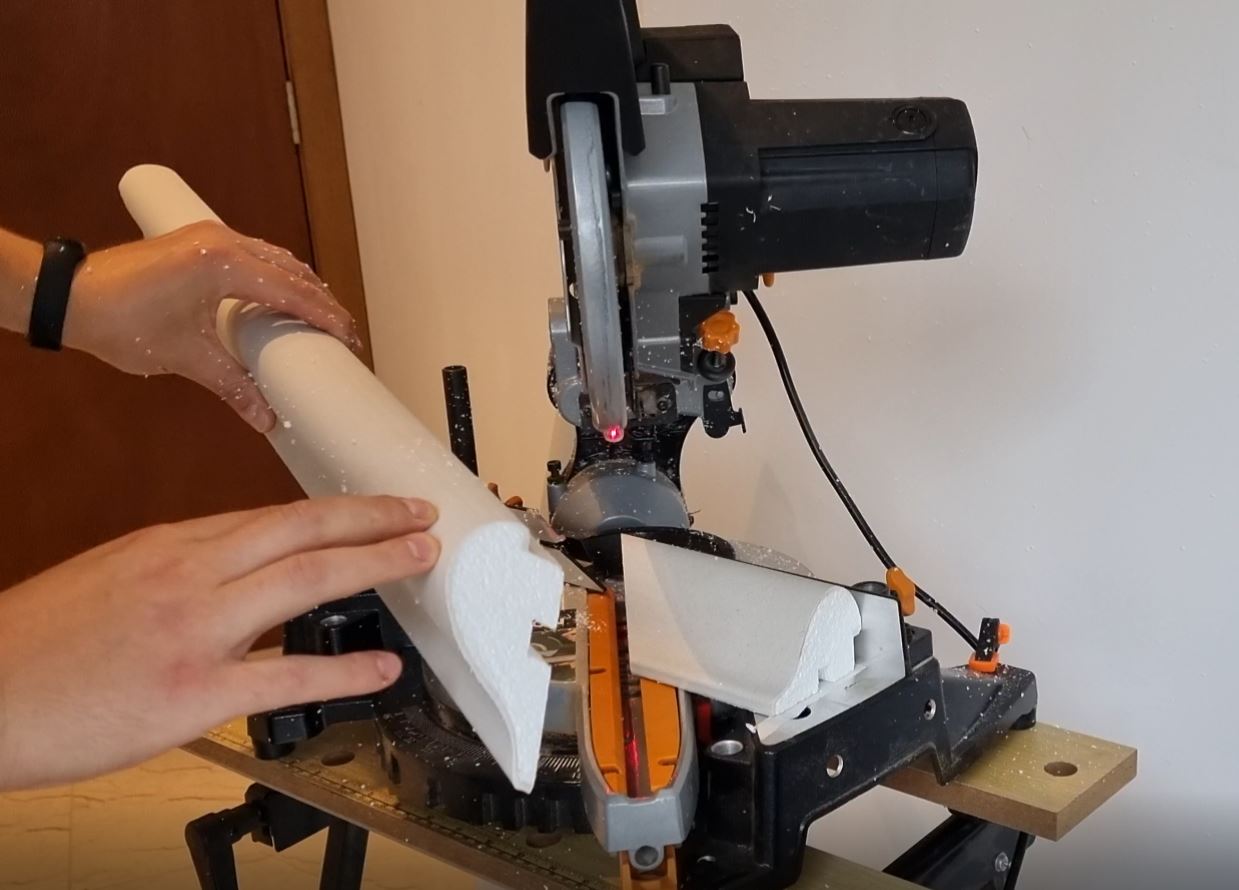
The XPS polystyrene covings are easy for cutting by snap-off knife or by saw using a mitre box, manual or electric mitre saw.
You can always cut the corners by yourself or purchase some pre-mitred corners directly from us to save you time during the installation
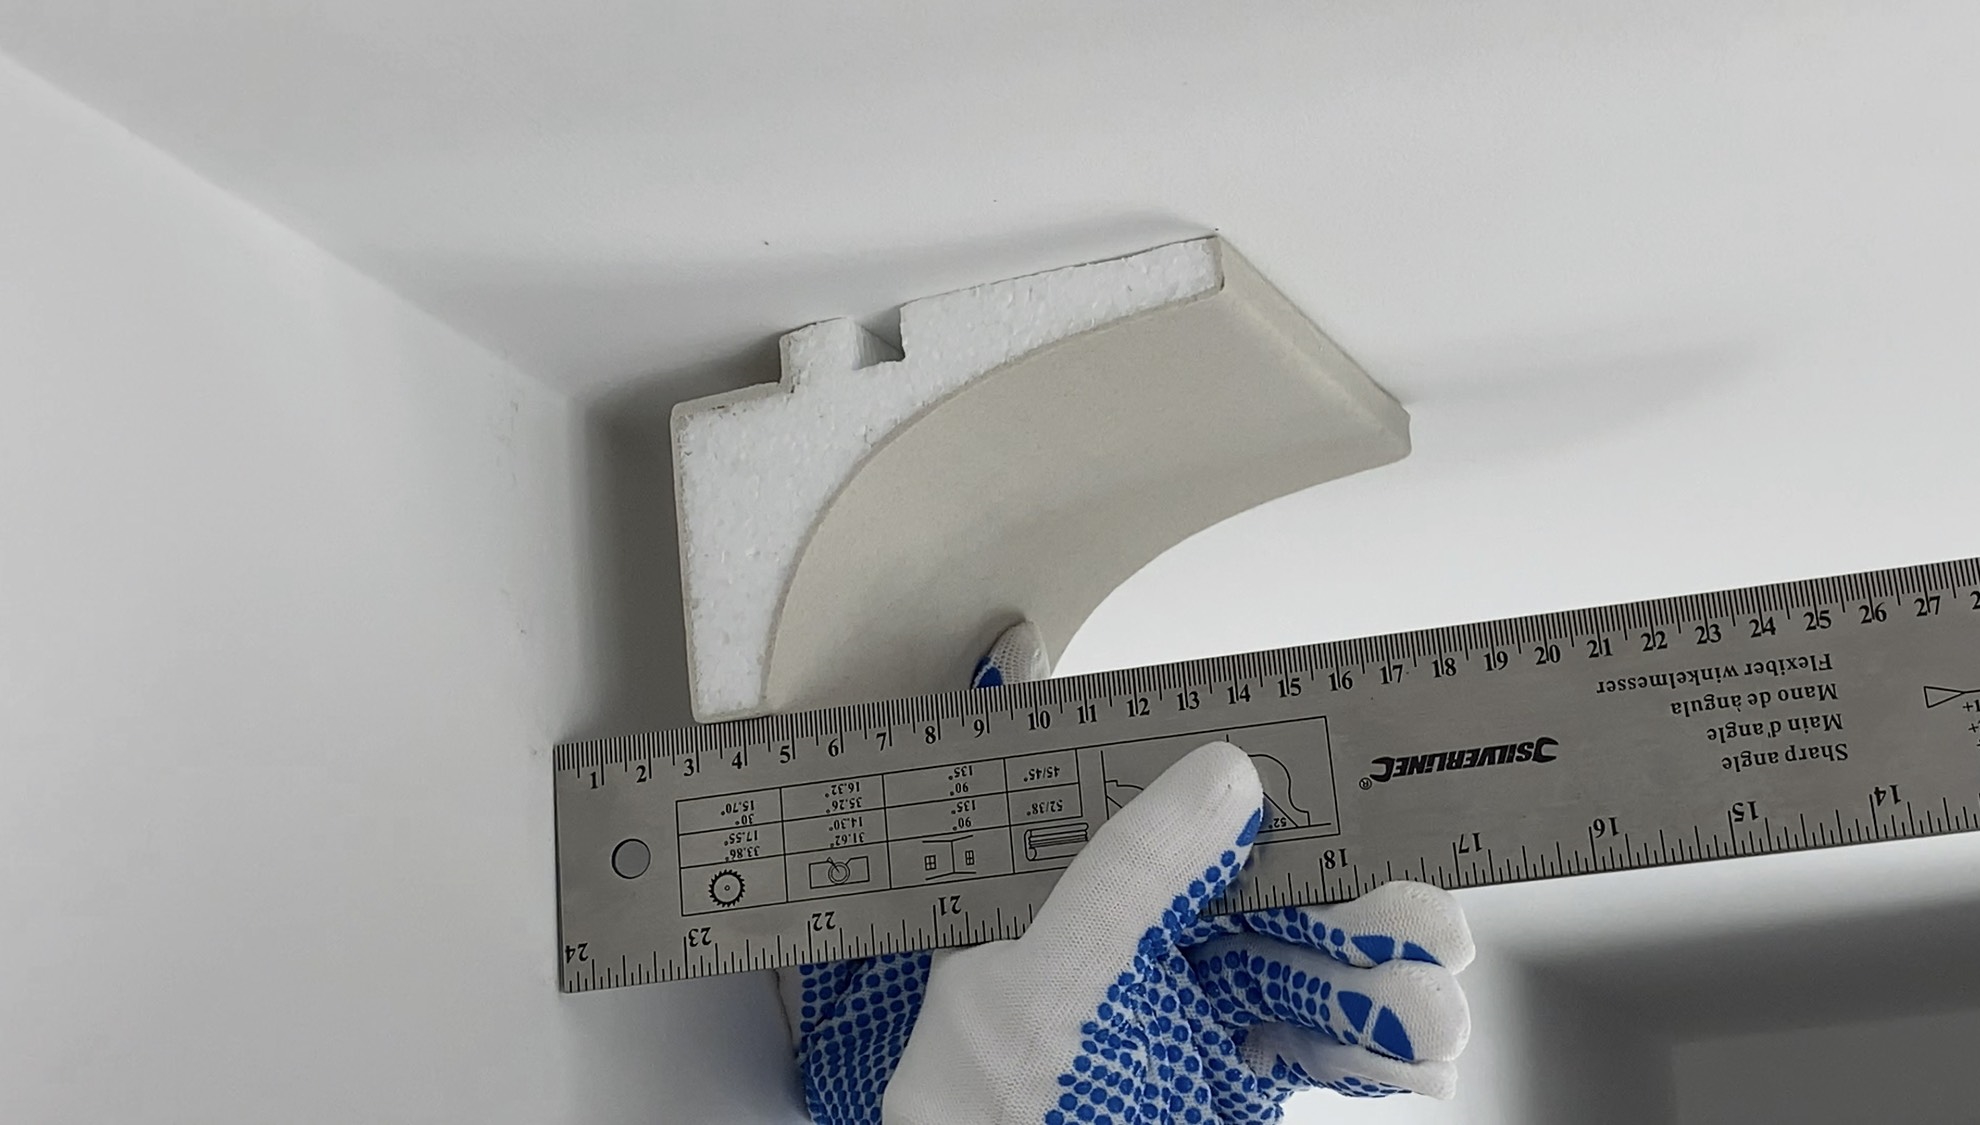
With most LED suitable covings, we recommend at least a 3cm gap between the coving and the ceiling/wall.
Please keep in mind that 3cm is the recommended minimum gap to be able to access the LED lights. Some of our customers decide to go for 5cm or even more.
It all depends on your preferences and your project
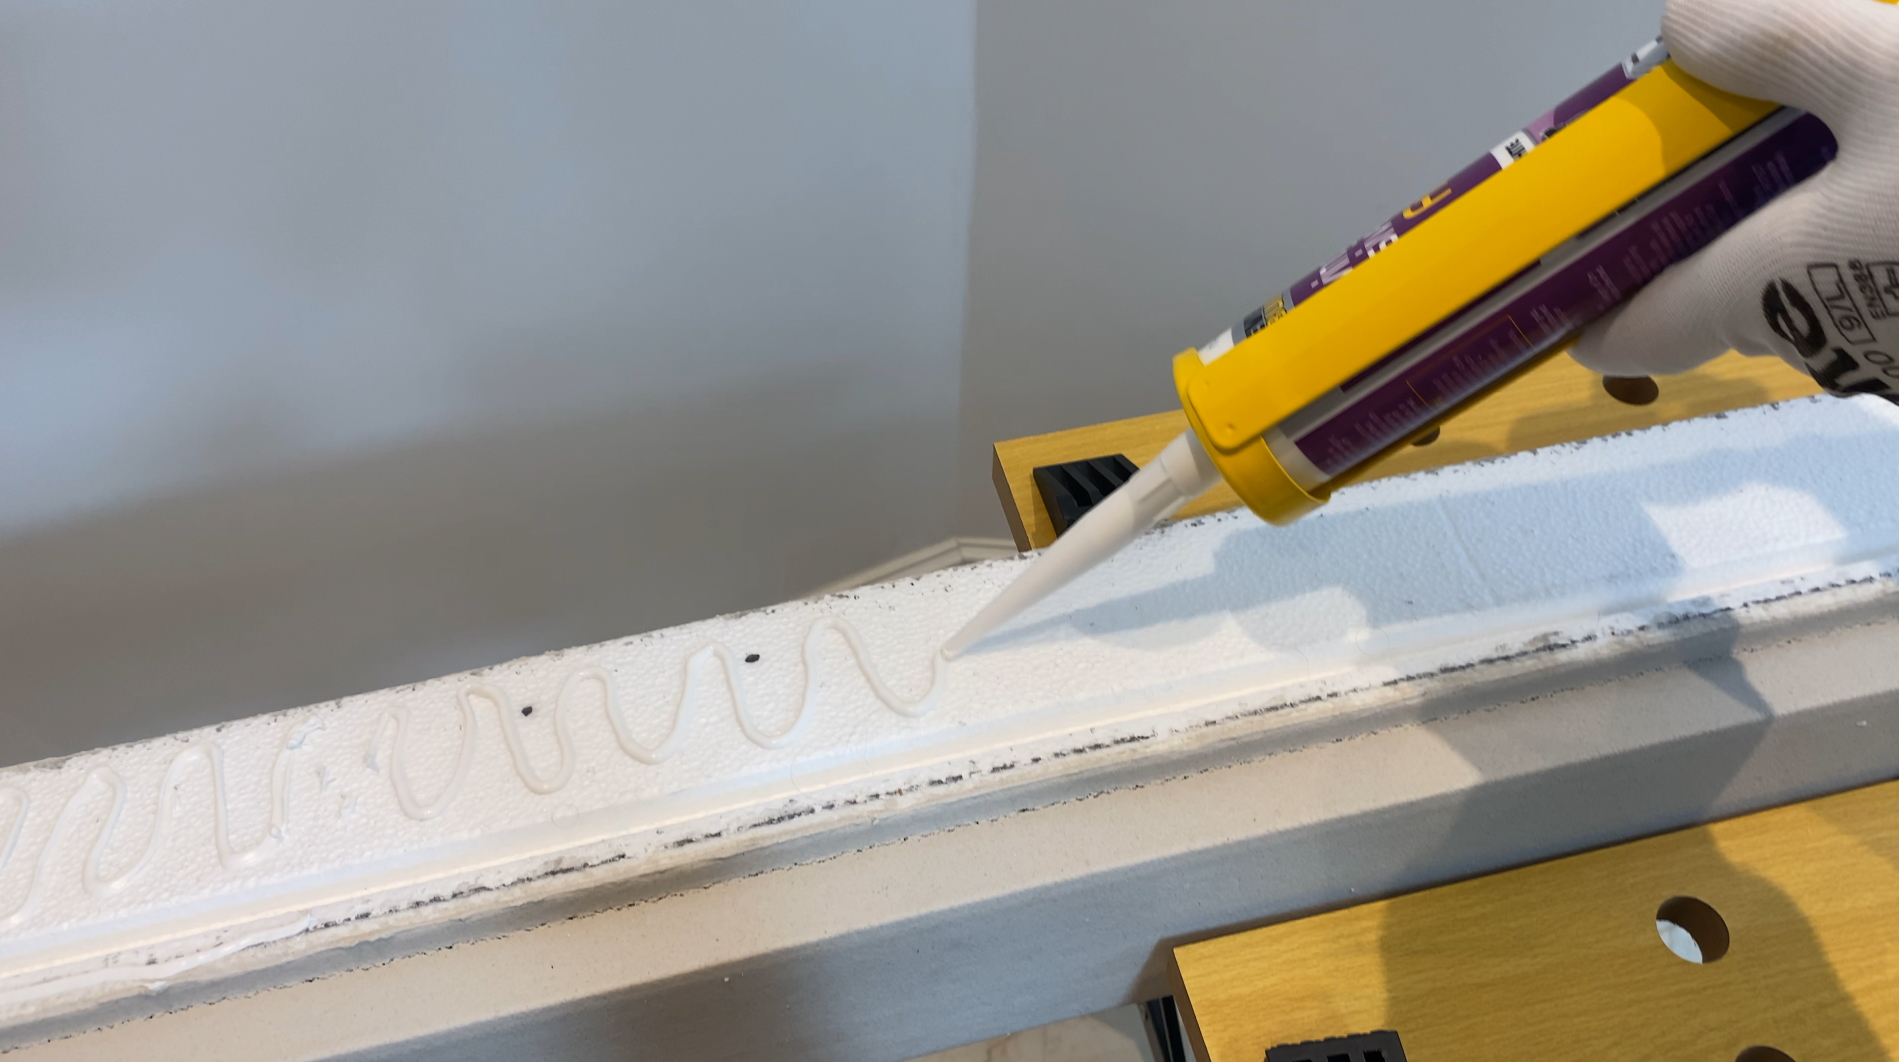
Apply adhesive evenly at the back of the coving.
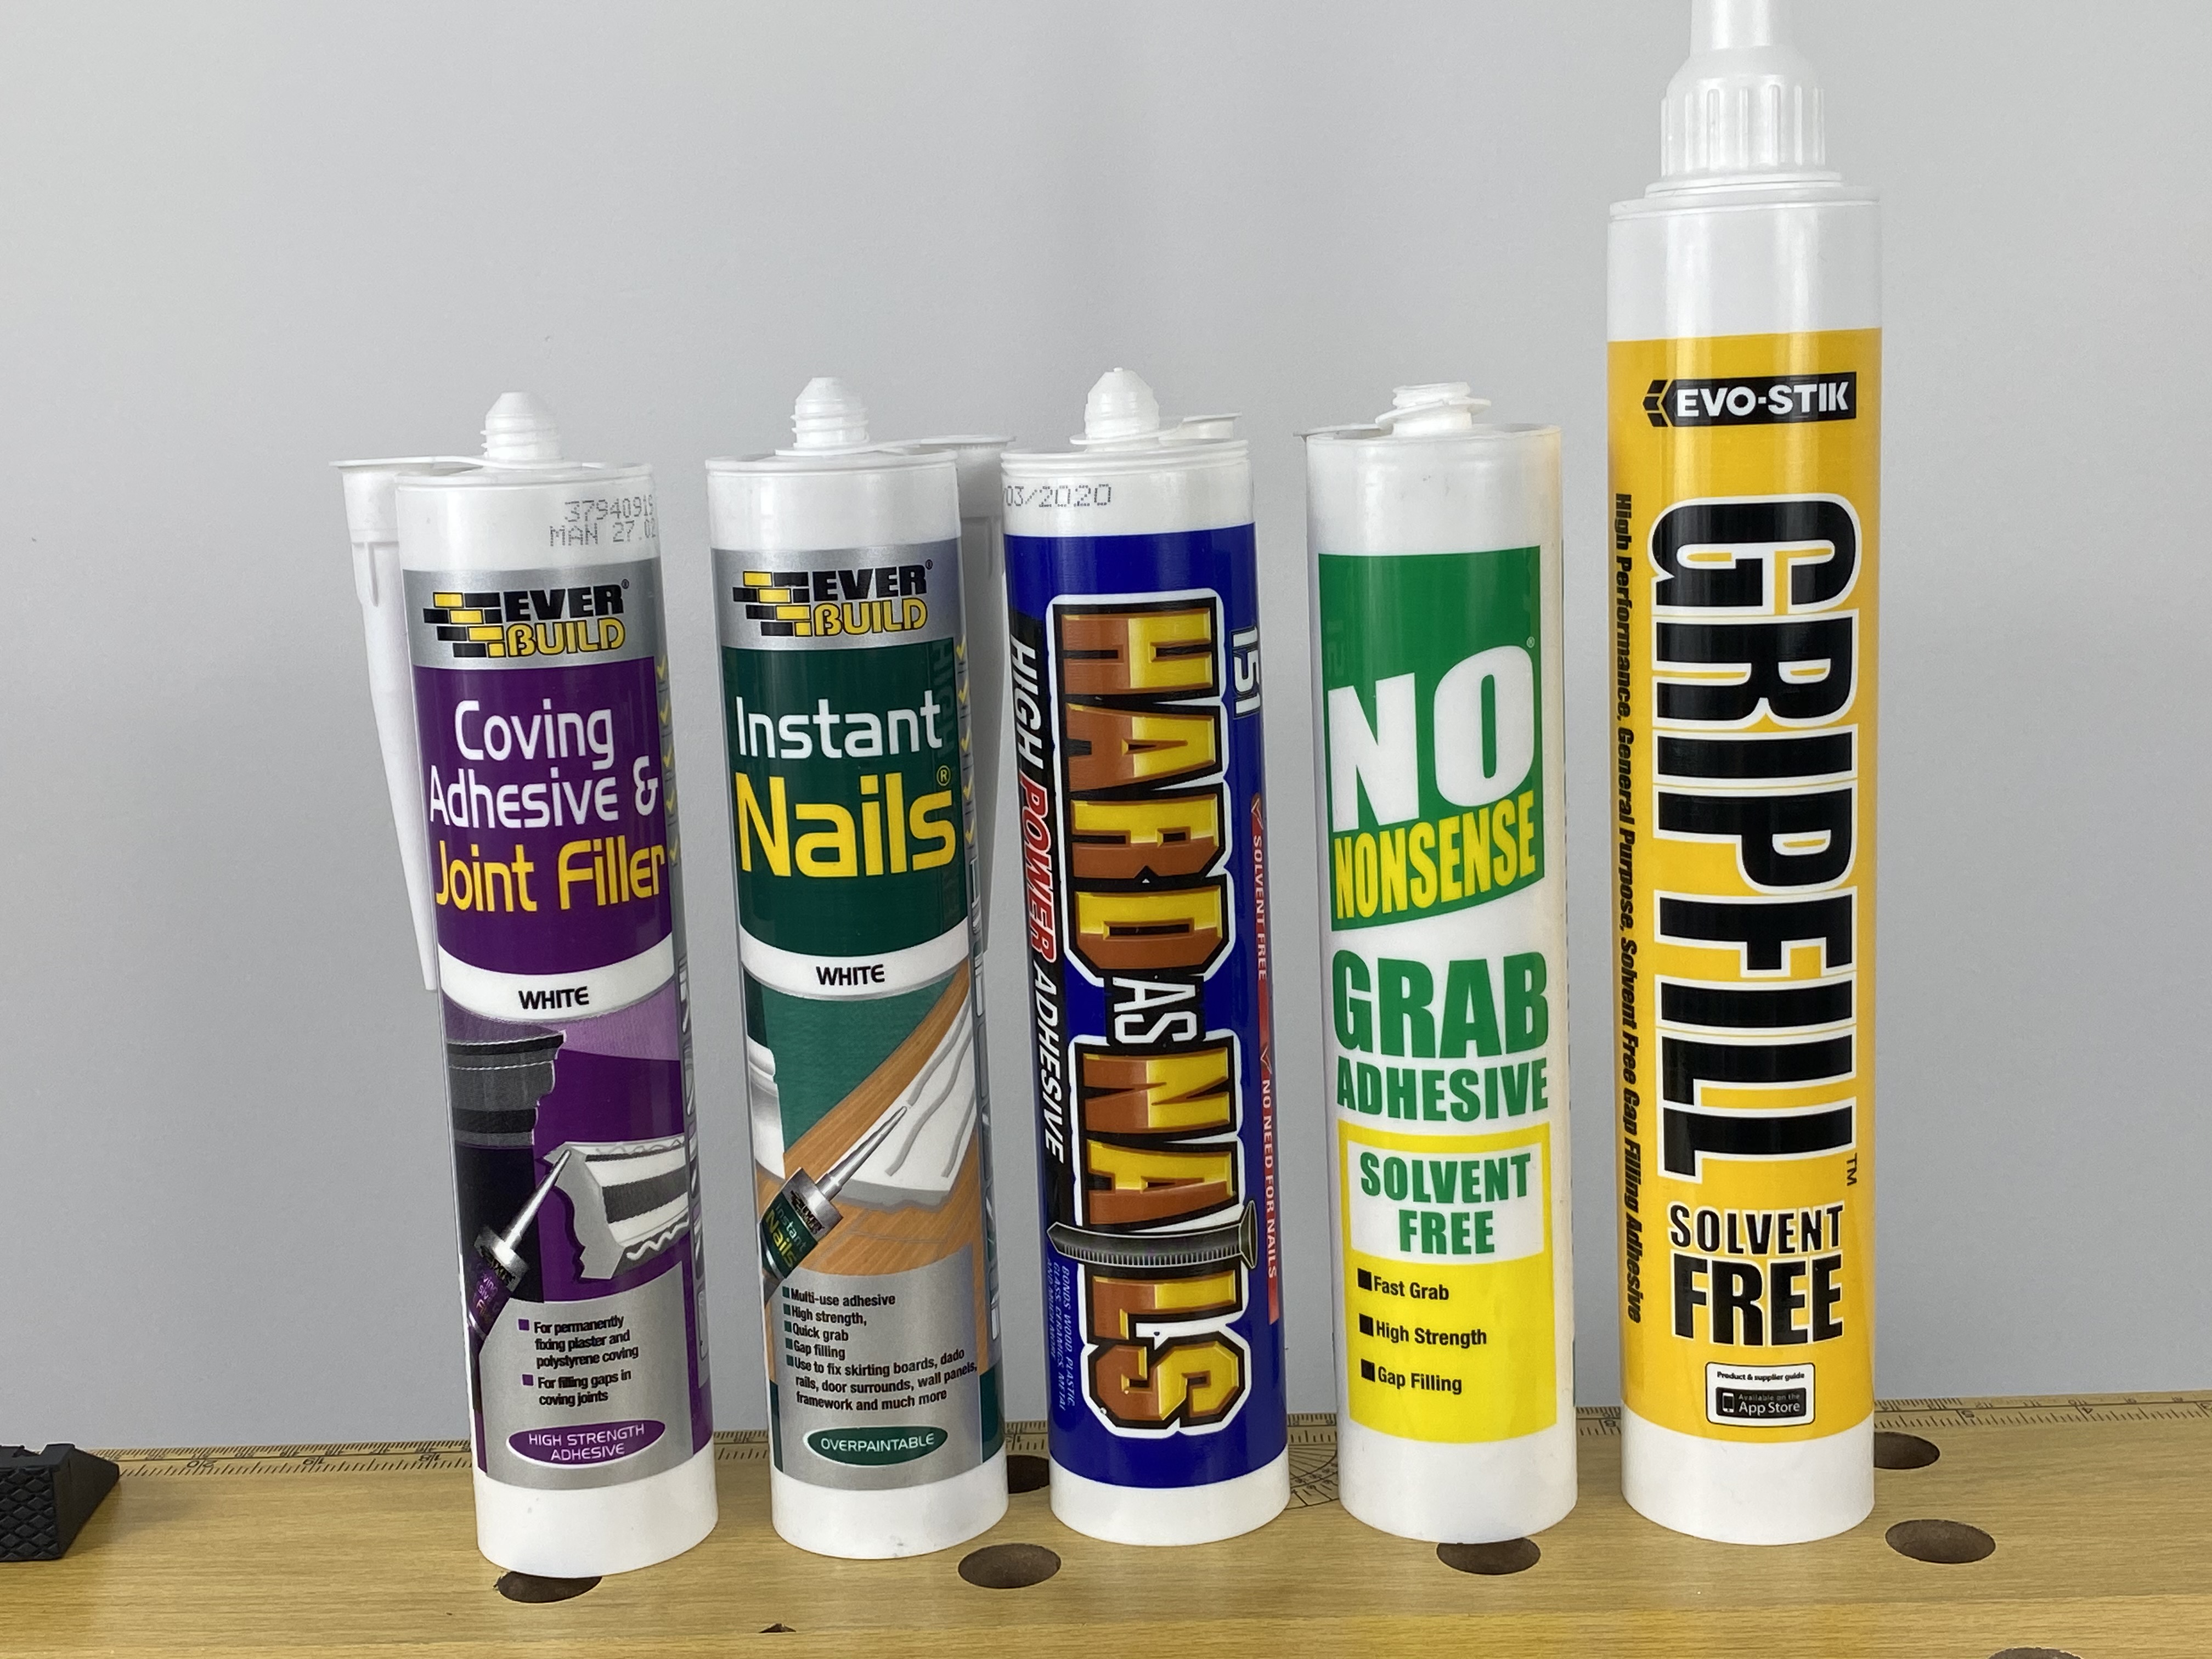
It is important for any polyestrene coving that the adhesive is solvent-free. For the list of recommended adhesives please refer to the image below.
For best results apply solvent-free adhesive to the joining parts as well.
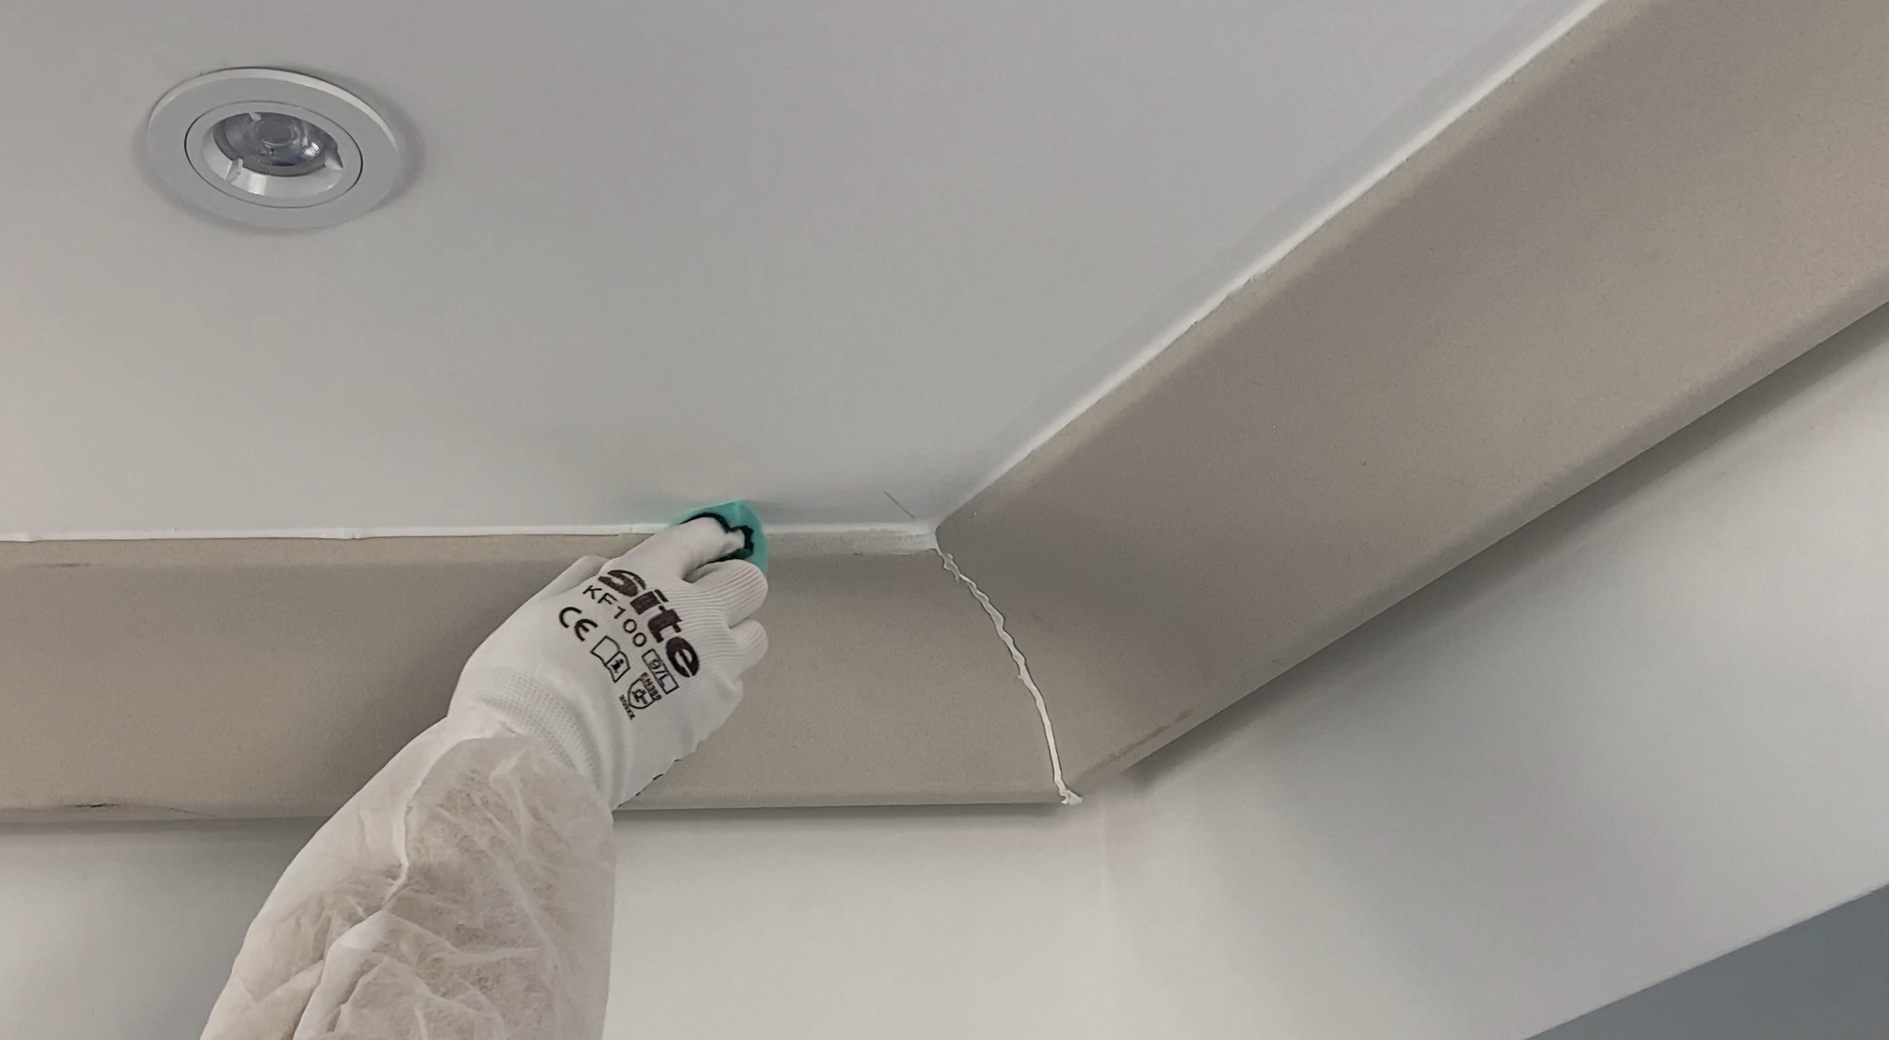
All of the joins as well as the gaps can be filled with acrylic caulk or filler.
Excess filler or caulk should be removed with dampened cloth or sponge.
The surface of the XPS coving can be sanded with high grid sand paper (+120) after the caulk or filler dries off.
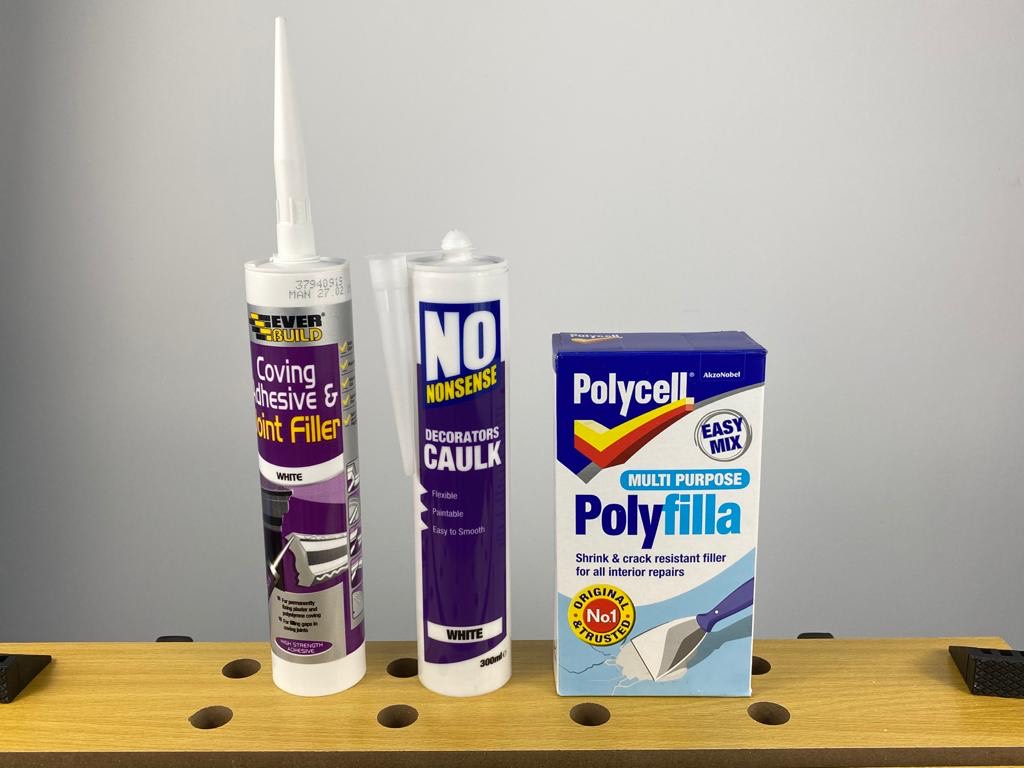
Below you can find our recommended acrylic caulk and wall fillers.
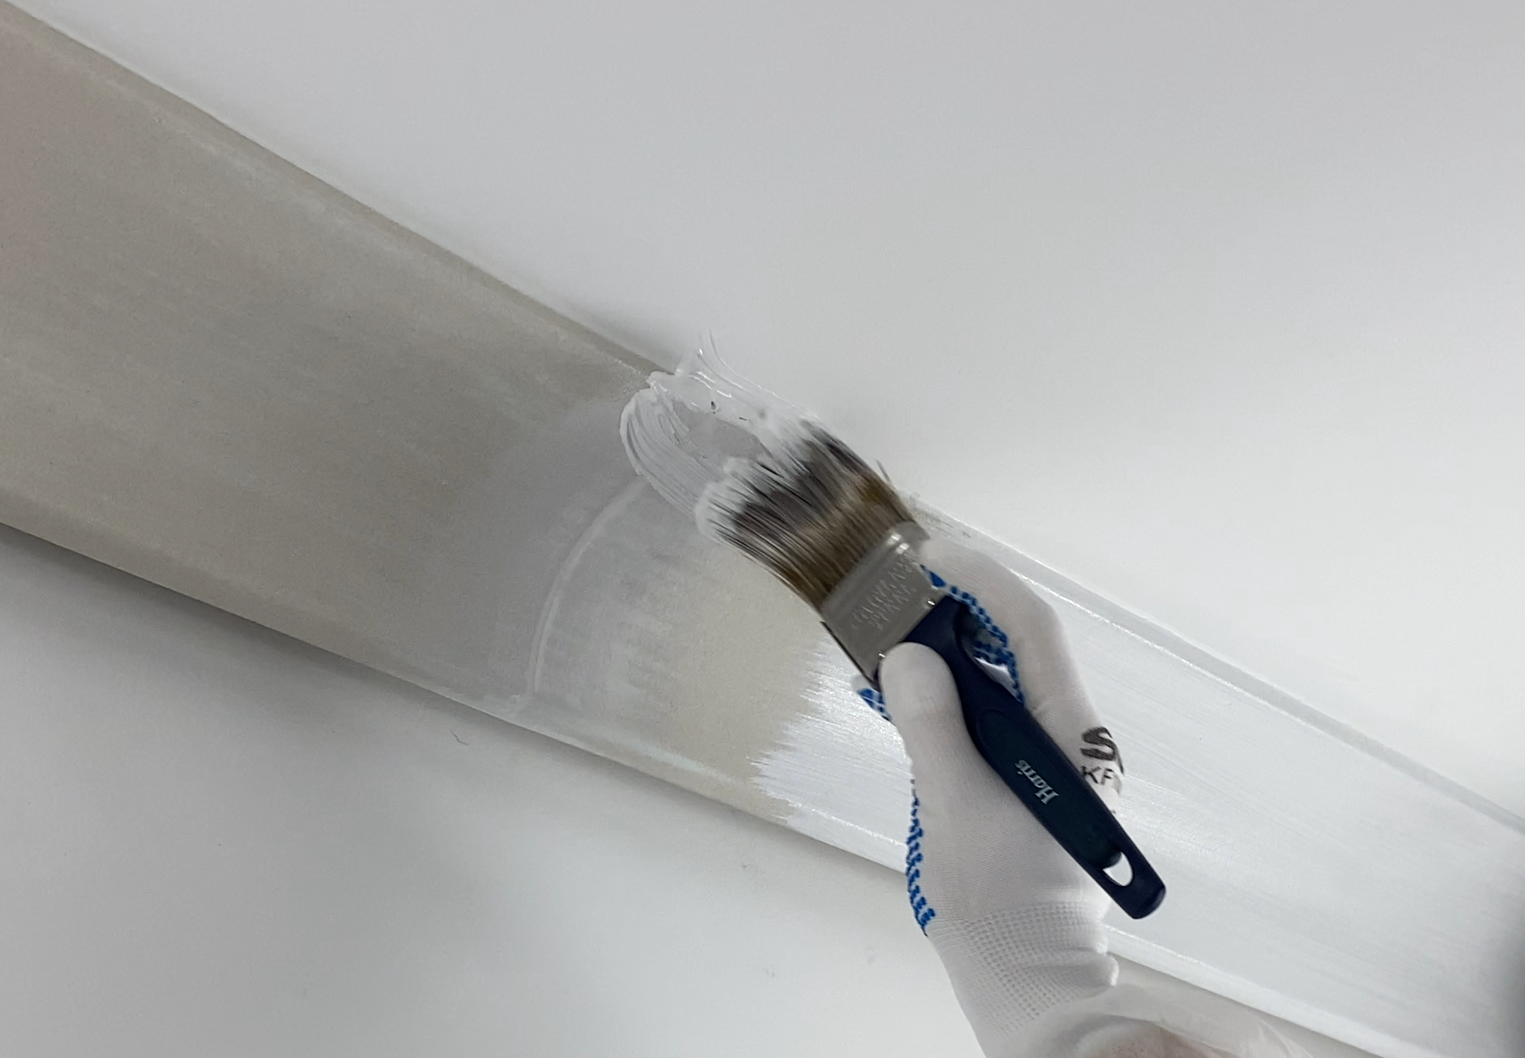
Remove any dust from the coving before painting.
The product can be painted before or after installation using any emulsion, or water-based paint.
The number of coats to be applied is left to customers' discretion.
Priming the surface can be done but it is not required.
LED lights installation
for XPS covings
LED stripes can be installed in one of three ways:
1. On their own (painted coving outside and inside except the wall that attaches to the wall) we recommend painting the coving with two coats of emulsion, water-based paint before montage on the wall or ceiling. When the product is mounted, all gaps are filled by acrylic caulk or filler and it's ready for finishing, we recommend applying the last coats of paint.
2. On aluminium/non-transparent tape (applied to the non-the visible side of the coving that will have LED installed). You can use any aluminium tape available in any DIY store. We recommend sticking the tape on the painted surface of the coving.
3. Inside aluminium, metal, or plastic channels.
Generally, aluminium tape is the best and easiest option.
Remember that you still should paint the coving even if you use the tape to block the light.
If you decide to not use the tape then it is recommended to paint the coving from the inside before the montage. In the place where LED lights will go.
If the coving is already on the wall and there is no option to stick an aluminium tape then you can paint the entire coving with a coat of darker colour (such as dark grey) and then paint the coving with the desired coat.
It is important however that you use a colour dark enough that will block the light but not too dark so it would not affect the final colour.
It might be a good idea to test this technique on an off-cut first to make sure that the dark paint is not too dark or too light.
Alternatively, as a safer option, you can add a couple more coats of paint (until the light does not shine through) and it might do the job depending on what paint are you using and how much paint you apply.
Please remember however that we recommend only water-based paint. Any solvent in the paint might damage the coving.
Live photos during and after installation from our satisfied customers!
Visit our
Projects page to see more live photos showcasing our interior designs.
-1600x880.jpg "https://homemerce.com/image/cache/catalog/Installation%20coving/st9%20(j)-1600x880.jpg")

.jpg)
 2.jpg)
.jpg)
.jpg)
 v2.jpg)
.jpg)
.jpg)
.jpg)
.jpg)
.jpg)